Here are Product Photo Size Requirements For Different Platform Selling
January 31, 2019
Photo Editing Mistakes you all are making in Photography
April 1, 2019
Photoshop is a hub of photo editing tools and in the world of digitization, there is always a need of making the images look beautiful. When it comes to beautifying the pictures, Photoshop is wonderful software loaded with features and effects to apply. If you want to correct or edit the images and retouch them so they look best, spot healing brush tool is must. One of the most amazing tools to retouch the images is spot healing brush tool which works seamlessly if you know the technique right.
Spot healing brush tool repairs the damaged area of a picture whilst keeping the originality intact. Depending on the image requirement, the tool is used because spot healing tool further have standard healing brush tool and patch tool. Let us see how to use this tool:
Open the image
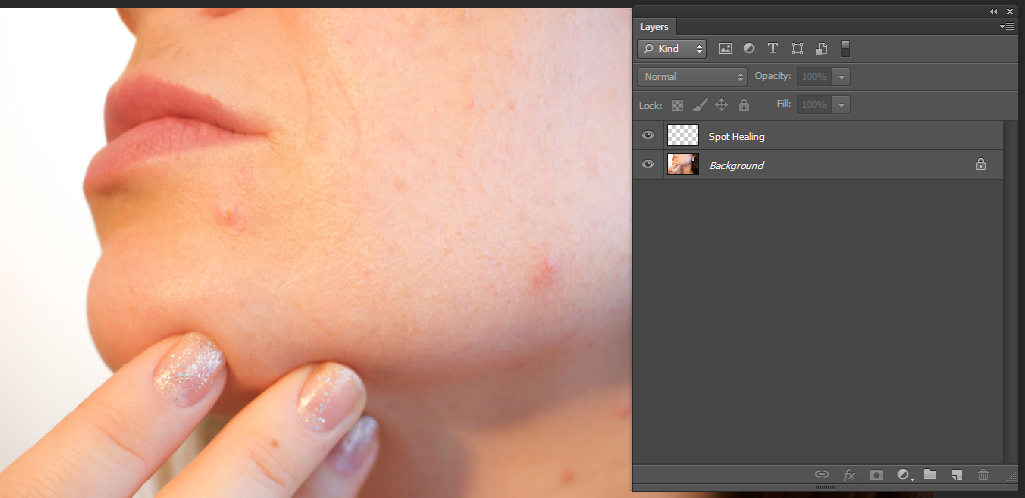
Open Photoshop and then open the image you want to retouch. When you will open the image, a layer will be created. This layer will be locked and called background layer which you have to unlock to work on it. To unlock it, right click on the layer and create layer from background. Also, it is important to keep the original picture intact so create a duplicate layer if in case, you ruin the original image.
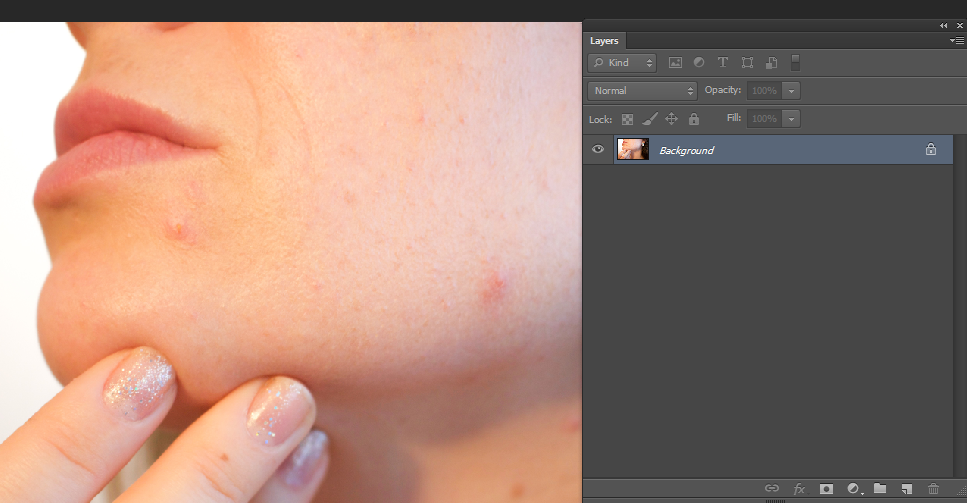
Change the name of layer
When you create the duplicate layer, you will see a new layer above the original photo. Change the name of this new layer to Spot Healing as it will make it easy for you to keep record of the layer you are working on.
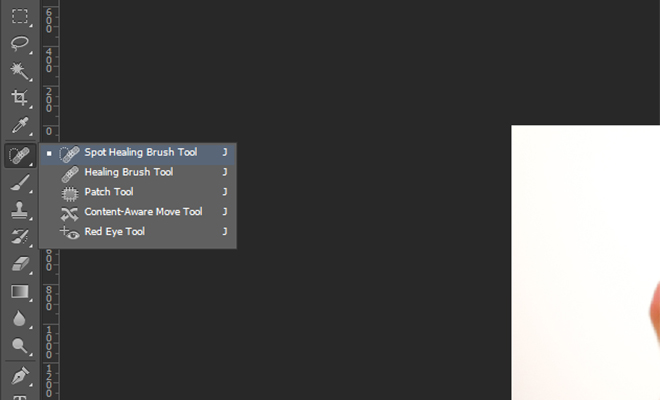
Pick the spot healing brush tool
Go to the tools palette and pick the spot healing brush tool from there. Long click on the menu and you will see the tool in the submenu which you have to select to work.
Select Sample All Layers option
To use the tool on the layer, it is important to select the layer first or else the tool will not work. If the wrong layer is selected, the tool will edit that layer so make sure to select the layer you want to retouch. Since the tool works only with the selected layer, you need to select the Sample all layers option in the options bar. It is to let Photoshop look at the background layer as well in order to replace the areas with another area.

Select Content Aware
Now if you are working in new version of Photoshop, you have to select content aware option. This feature is located in the options bar from where you should choose it.

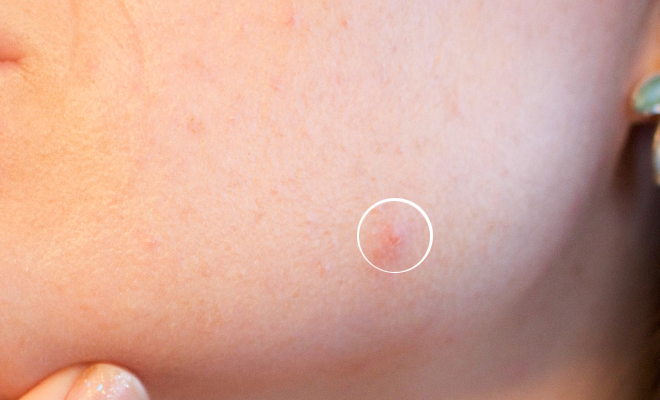
Select the problem areas to correct them
Now it’s the time to correct the problem areas. Click on the problem area and see how the tool works. Like for an example, there are acne marks in the image and when you will click on that area, a red circle will appear which will keep moving as you keep clicking on. Make sure to work on the image properly or else you will ruin the picture. Press Ctrl+Z to undo the step and then go ahead. Here you go with the perfect results. Retouch the images and make them look absolutely stunning!