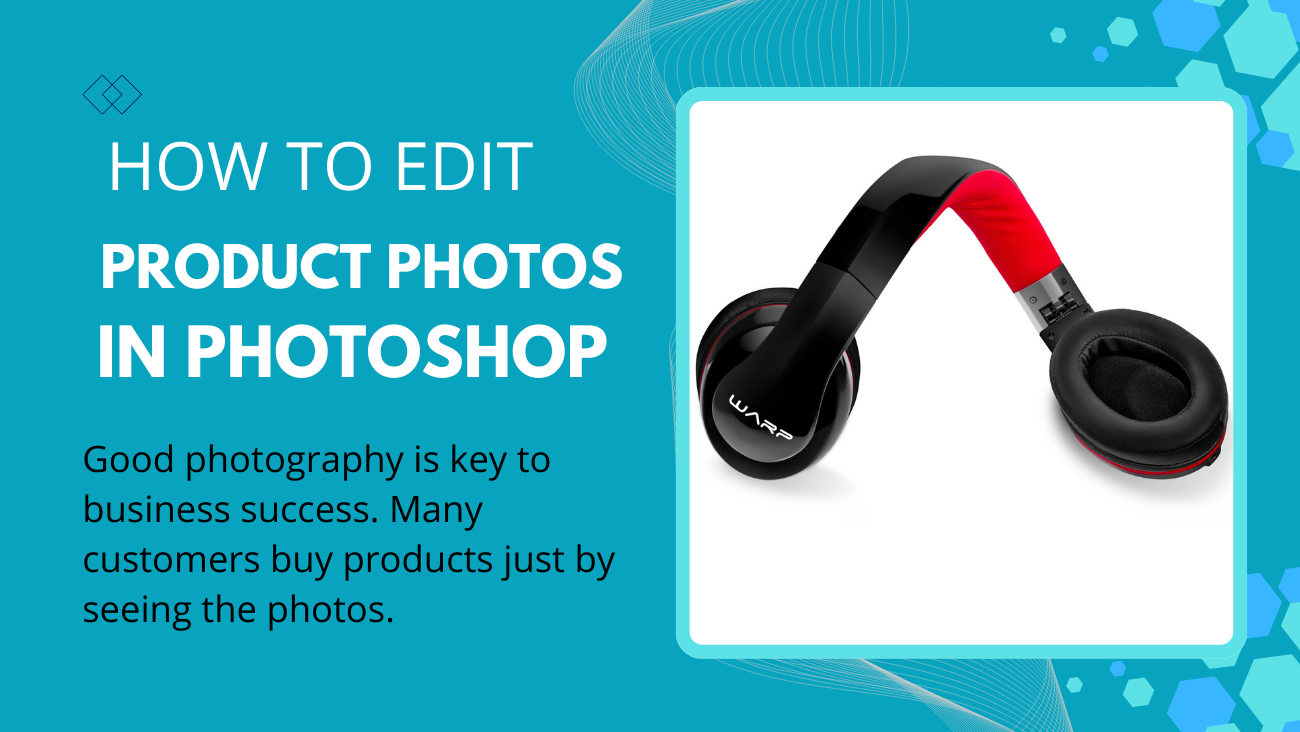
Good photography is key to business success. Many customers buy products just by seeing the photos. Bad product photos can drive customers away from your online store.You don’t have to be a professional to capture great product photos. With helpful tools like Photoshop, you can easily improve any image for your online store.
If you don’t know Photoshop, this article is for you. It covers both basic and advanced methods to edit product photos. You’ll learn to remove blemishes and create a ghost mannequin effect. This makes your photos more dynamic and interesting. Prefer online editing? Many free tools mimic Photoshop. You can try them before buying a tool.
To start using Photoshop, you can either subscribe to Adobe or try a free trial. Let’s get started and explore all the great features together.
Remove the Background
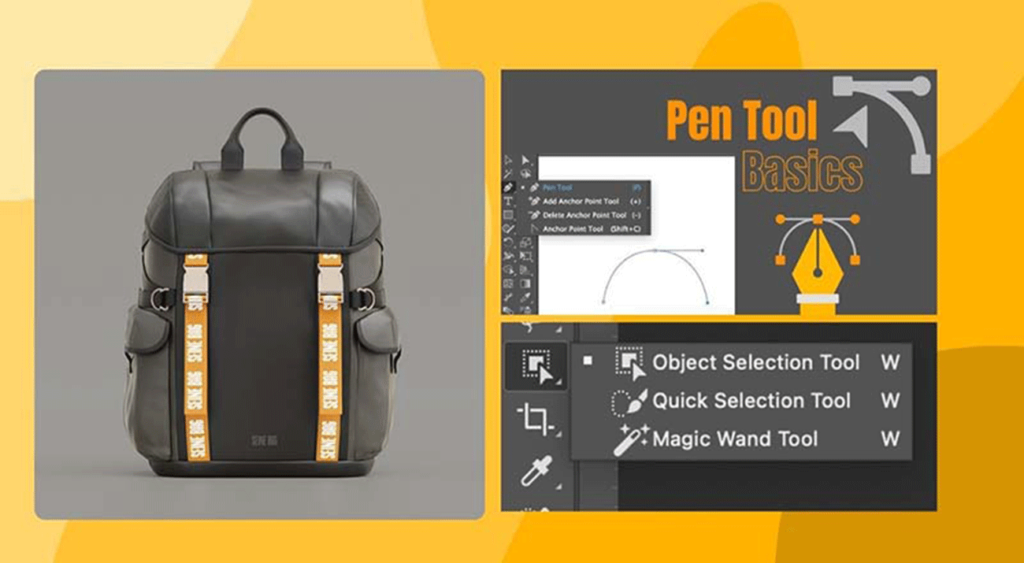
Removing backgrounds is a common step in product photo editing. Therefore, it’s best to use a white background. This avoids the hassle of removing or changing the background later.
Removing backgrounds from images has many benefits. It helps customers focus on the main object without distractions. Many tools are available for this task.
Adobe Photoshop has some great tools that many people love to use. Two of my favorites are the pen tool and the “Select and Mask” quick selection tool. These tools can really help you create amazing designs.
Remove Blemishes

Make your product shine in ads by ensuring it’s clean and presentable. Remove scratches, dust, and fingerprints. This attention to detail improves your photos.
While editing product images in Photoshop, you can use helpful tools. The Healing Brush, for example, fixes multiple areas at once. It smoothly fills in selected spots with colors that match the surrounding pixels, creating a seamless appearance.
For detailed adjustments, try the Clone Stamp Tool. It lets you copy pixels from one part of the image to another. For a more natural appearance, try using lower hardness settings. This will help you blend colors in a lovely way. Have fun editing.
Color Correct

Color correction is an important part of editing product photos in Photoshop. It’s great to make sure the colors in your images match the real colors of the products. This helps keep your customers happy, as they will see exactly what they can expect to receive. To do this effectively, you can adjust the colors, white balance, exposure, and contrast. By following these steps, you will create images that your customers can really trust.
White Balance

When you take a picture of your product, focusing on the little details is great. This way, you can avoid any blue tinge in your photos. Lighting and camera settings can affect how colors show up. If the whites in your photo seem off, you can fix this by adjusting the white balance in Photoshop. Happy photographing.
You may want to adjust the color balance. It should match your product’s actual colors. The Curves Tool is a great way to do this. Happy editing.
Contrast and Exposure

You can make your photograph look even better by adjusting the image contrast. This will brighten light areas and darken shadows, making the picture pop. To brighten an image, increase the exposure. For a darker look, simply reduce the exposure.
Tweaking Colors
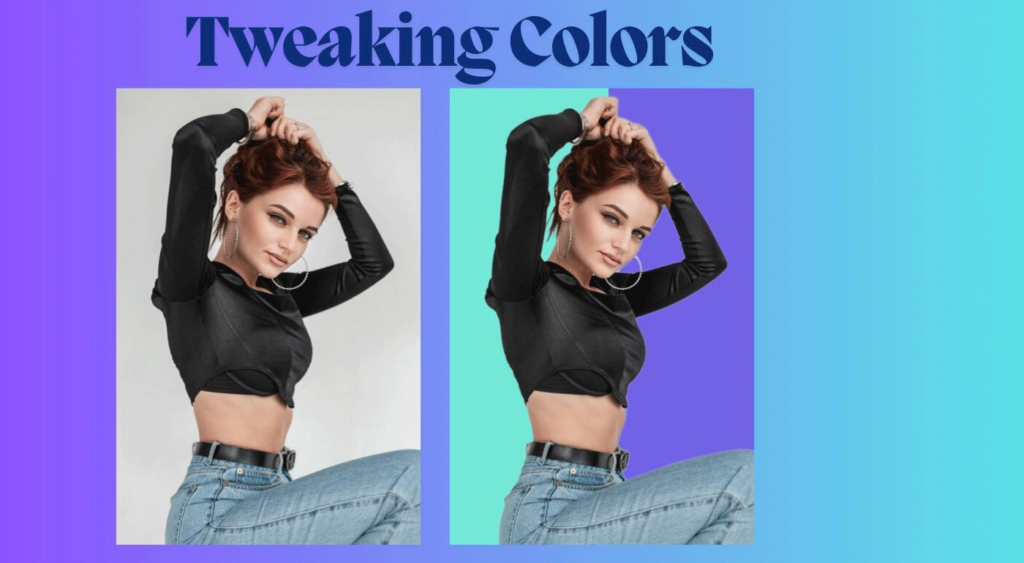
Some devices may struggle to capture vibrant colors like neon. To get the shade you want, you can adjust the photo’s colors. This simple technique helps bring back the lost vibrancy and makes your pictures look more natural and appealing.
To enhance the colors in your photo so they reflect how we see them in real life, you can use the simple color correction feature in Photoshop. This tool helps adjust the hue and saturation easily. First, open a photo of your product. Then, click on the Image tab, go to Adjustments, and select Hue/Saturation. You can move the triangle slider back and forth to find the perfect hue for your image. Enjoy experimenting with it.
Batch Process
Maintaining visual consistency is essential, and I understand it can be a bit challenging. If you want to edit product photos in Photoshop, you’re in luck. This software offers many great tools to help you. You can easily tweak an image’s color scheme, warmth, white balance, contrast, and much more.
Once you find the right balance for your colors and settings, it might feel overwhelming to repeat those steps for each photo. It can take time, and it’s easy to make mistakes. But don’t worry. There are ways to streamline the process and make it more efficient.
That’s where Photoshop’s actions come in. These allow you to save all your steps so you can repeat them automatically. With the batch processing option, you can edit multiple photos at once, making your work significantly more efficient.
Change Colors

Editing product photos in Photoshop can be a fun and creative process. One great tool that can help you is the Hue/Saturation feature. This tool lets you easily change the color of your products, saving you time and effort. Instead of taking many photos of the same item in different colors, you can snap a few pictures and then adjust the colors later.
For instance, if you have ten shirts in different colors but are pressed for time, just photograph a few shirts. Then, you can use the Hue/Saturation tool to switch their colors around.
Here’s a friendly tip: this tool works wonderfully with colors like red, blue, and green, along with their shades. However, note that this tool struggles with white, black, and gray colors. You can turn blue into pink, but not white. Understanding these details helps you edit product photos better.
Increase Sharpness

Unsharp Mask is a wonderful tool in Photoshop that can help you highlight the edges of your product beautifully. It lets you brighten one side while softly darkening the other, giving your images a sharper look by adjusting the contrast around the edges.
To begin using this feature, simply click on Filters, then go to the Sharpen tab and select Unsharp Mask. Don’t hesitate to experiment with the slider to discover the best settings for your product. Have fun enhancing your images.
Here are some options you can adjust:
- Amount: This controls how much to increase or decrease the contrast.
- Radius: By changing this setting, you can define how broad the area for contrast adjustment will be.
- Threshold: This helps you avoid sharpening parts of the image with similar colors. For example, if you have a photo of a blue sky with clouds, the Threshold setting lets you sharpen just one shade of blue. This way, your image will look smooth and polished.
Feel free to play around with these settings to see what works best for your product.
Add Shadows
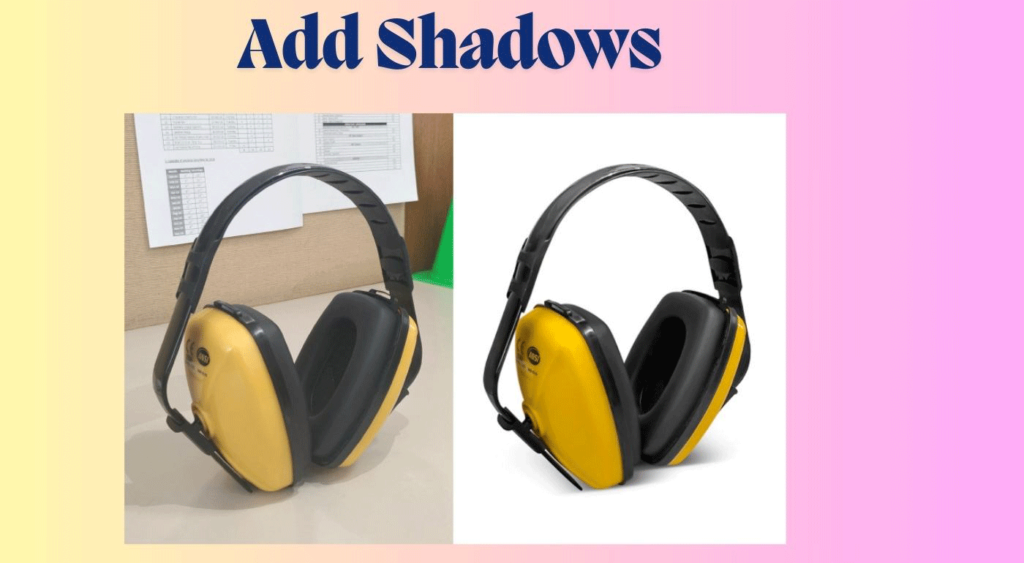
In product photography, shadows play an important role. There are two main types: the shadow that can darken your merchandise and the shadow that your product casts. The first type can be tricky, as it might distract attention from the item you want to showcase. On the other hand, the second type adds a nice touch of realism and can help attract customers.
If you’re thinking about adding shadows to your images, here are two friendly tips to keep in mind. First, aim for a natural and consistent look so that the shadows enhance your products. Second, make sure that items within the same category cast similar shadows for a cohesive feel. You might also consider using reflection shadows or drop shadows to create that perfect effect.
Reflection Shadows
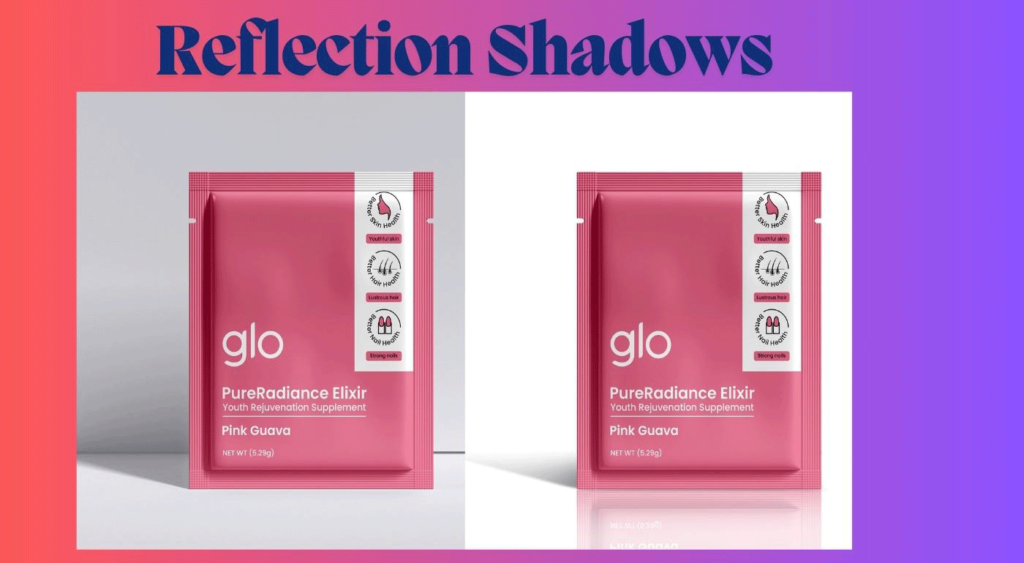
These effects give your merchandise a stylish look, making it appear as if it was photographed on a shiny surface, like a glass mirror. You’ll often see this type of shadow on social media, homepages, and category pages. To achieve this effect, simply copy part of your image. Then, paste it as a new layer. Adjust its position and change the blend mode. Finally, use a mask to refine the appearance. It’s a fun way to enhance your visuals.
Drop Shadows

To make your product shine, try adding a shadow effect that mimics direct sunlight. Simply go to the Layer Style tab at the bottom of the Layers panel and choose Drop Shadow from the menu.
Using these shadows can really enhance the depth of your product. It helps your customers visualize the item in a three-dimensional space, giving it a more grounded and appealing look. This small touch can make a big difference in how your merchandise is perceived.
Remove Reflections

Sometimes, you may want to take a picture of an object that has mirrors or shiny metal parts. These features can reflect light in tricky ways. When you notice reflections, it’s important to think about which ones you want to keep and which ones you’d prefer to remove.
In Photoshop, there are a few friendly tools to help you remove unwanted reflections. One of the simplest ways is to choose a color from a neutral background. You can then use the Brush in Color blending mode to paint over the area you want to fix. To start this process, just press Alt-Shift-C.
Another helpful option is the Sponge Tool. This works well if the metal surface is neutral in color.
Create a Ghost Mannequin Effect
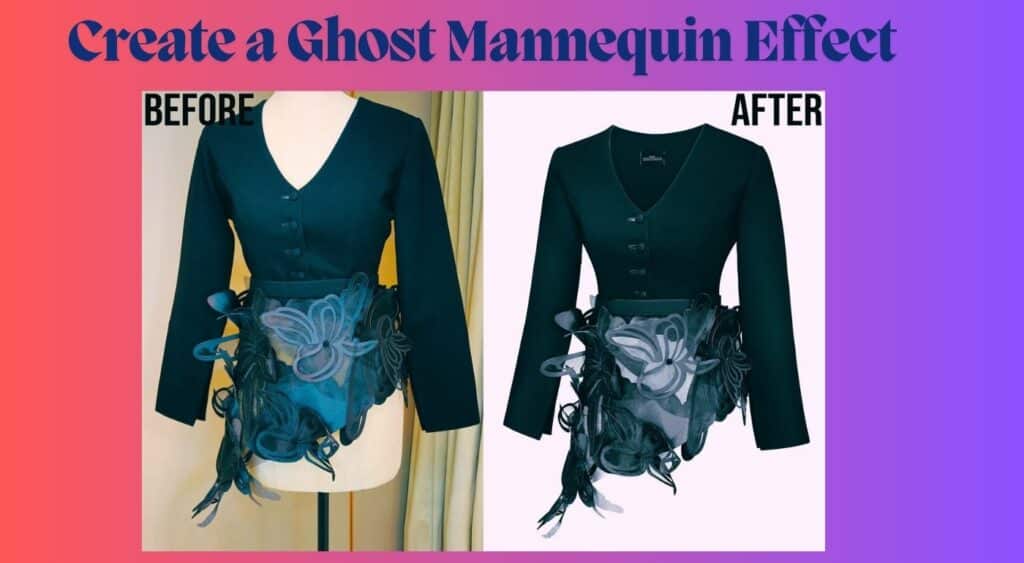
If you design clothes and want to showcase them online, taking great photos is key. It’s important to make your images clear and eye-catching. Wearing the items on a model can highlight their design and details well. However, hiring a model or buying a mannequin can be quite costly. Plus, sometimes they can draw attention away from the clothes themselves.
That’s where the ghost mannequin effect comes in. This technique allows you to photograph your clothing on a model or mannequin and then remove it during editing. This way, your customers can see the garment from every angle and appreciate all its details in a 3D view.
Using this method, you can highlight features of your clothing that might not be visible when worn by a model. As a result, you’ll create stunning photos that focus on your designs, which can help boost your sales. This technique is a fantastic tool for product photo editing in Photoshop and makes it easier for customers to imagine themselves in your clothing.
Crop and Straighten

To create a cohesive look for all your pictures, it’s important to keep the size and dimensions consistent. You can easily do this while taking photos by using the grid function on your camera or phone.
If you’re looking to enhance your photos further, try using Smart Guides in Photoshop. This helpful feature allows you to set up guidelines, making it easier to keep your images uniform and consistent.
You Can also learn: How to edit product photos for Amazon with Photoshop
Conclusion
Product photography is a fun challenge. It requires a mix of skills and a keen eye for detail. One important goal is to showcase your products clearly so that your customers know exactly what to expect.
If you sell on Amazon, it’s helpful to remember that they have specific image size guidelines and technical requirements. Meeting these standards is key to successfully publishing your photos. For example, your images should be at least 1,000 pixels by 1,000 pixels. They need a white background and must show the product covering 95% of the space.
Other online marketplaces also have their own image requirements. Even if you run your own online store, it’s great to follow similar standards to ensure your products shine. With tools like Photoshop, you can easily enhance your images and support your eCommerce journey. Happy photographing.

